
For a web application to run as expected, all clickable links should forward users to specific and correct URLs. Unfortunately, there can sometimes be thousands of clickable and navigable links in a web app, making it tiresome (and potentially unreliable) to check all of them manually. And as we will discuss below, some link testing methods are not dependable.
Fortunately, robust tests for valid links can help. These automate the process, freeing up developer time and generally making the process of web application link testing more enjoyable.
E2E tests for valid links
UI automated testing encompasses many techniques designed to check web apps without the need for significant human intervention. However, sometimes these can take up substantial resources.
The key is to create an optimal testing schedule using automated atomic tests. Over the last two years, I’ve poured my heart and soul into developing such a test for web apps. It allows developers to go about the task more conveniently.
To understand the value of such tests, check out the following web application example:
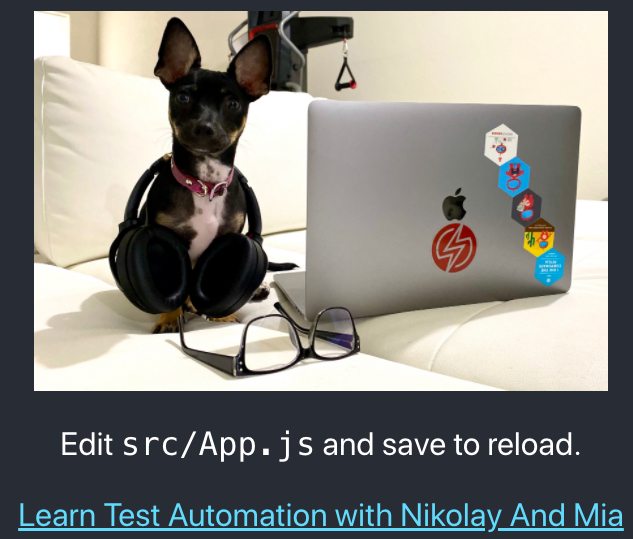
You can see at the bottom of this simplified web app that it contains a link to “learn test automation with Nikolay and Mia.” When users see the blue underlined text, they assume that it is a clickable link that will forward them to the page providing the information they want. But, as any seasoned developer knows all too well, the link might not work.
Naturally, with a simple web app such as this, you could test the link manually. But if there are thousands of links (or many apps), that may not be feasible. Furthermore, simply clicking the link in the browser isn’t a sufficient test. Thus, in these scenarios, it makes more sense to use an automated method.
When users click the web app link, they should be able to do two things:
- Click the link itself.
- Go to the correct web page by following the link.
Therefore, E2E tests for valid links check that the link is clickable and forwards users to the correct URL when clicked.
How to create an automated atomic test for clicking links
When it comes to creating automated atomic tests for clicking links, there is a right way and a wrong way of doing things. Let’s start with the wrong way.
You might assume that a test that clicks on links is the way to proceed. Unfortunately, any <a> in HTML is clickable. So if you test for the clickability of these tags, it means you’re testing HTML and not custom code. Thus, if the clickability of <a> functionality does not work in this app, then it will also be broken for all the other apps in the entire world. This is a native browser behavior, not behavior of our software.
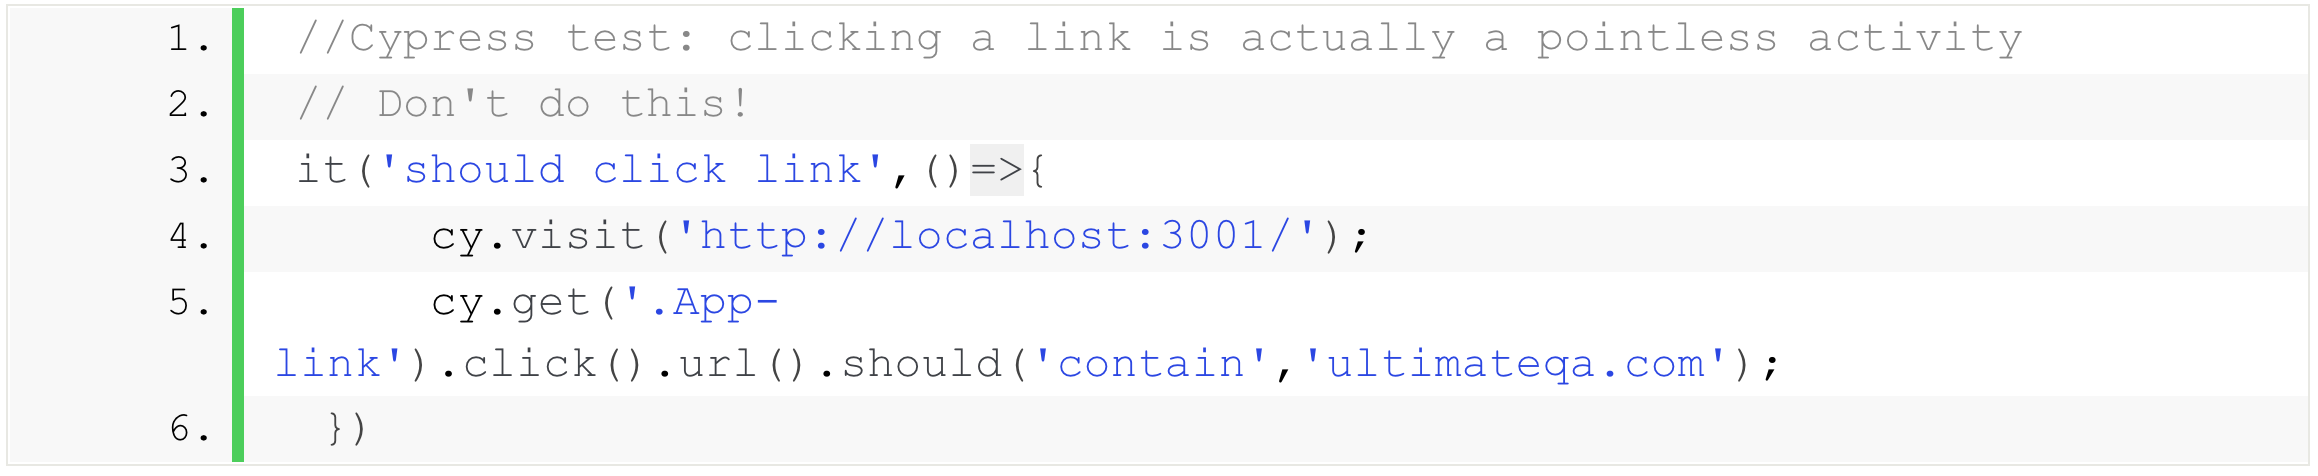
In other words, you shouldn’t use this test to check for broken links.
A better approach is to test whether the <href> attribute is as expected. Why? Because the <href> contains the two pieces of information you want to test for: the URL, which is the actual link, and the clickable text that appears on the web app page (usually called the “anchor text”).
You can evaluate the value of <href> to determine that it is doing what you think it should do by using the following code:

The test will then tell you whether the link is valid automatically by evaluating the code at the correct level.
How to test for valid links with unit tests
But you're not done yet. There are even better ways to test the validity of your links on your web app. E2E tests are great—and they work—but they’re slow, require a lot of coding, and aren’t always robust. Unit tests are an upgrade; they work even better and correct many E2E testing problems. For instance, they tend to be thousands of times faster, they don’t require as much code, and they work better across large samples.
Here is an example of a unit test in action:
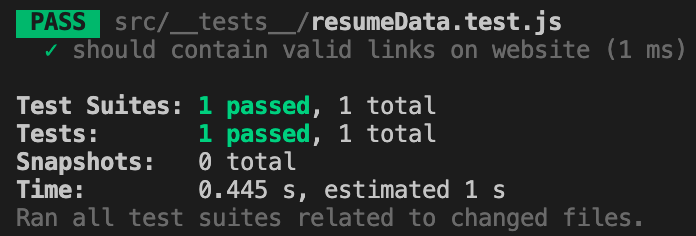
As you can see, the test takes a fraction of a second to complete (0.445 seconds). The output shows which links pass, and which fail, as a proportion of the total. The result is faster testing, the ability to check more links, and the identification of broken links without the need for additional code.
Below, you can see a simple ReactJS portfolio website for me that is hosted on a popular hosting solution:
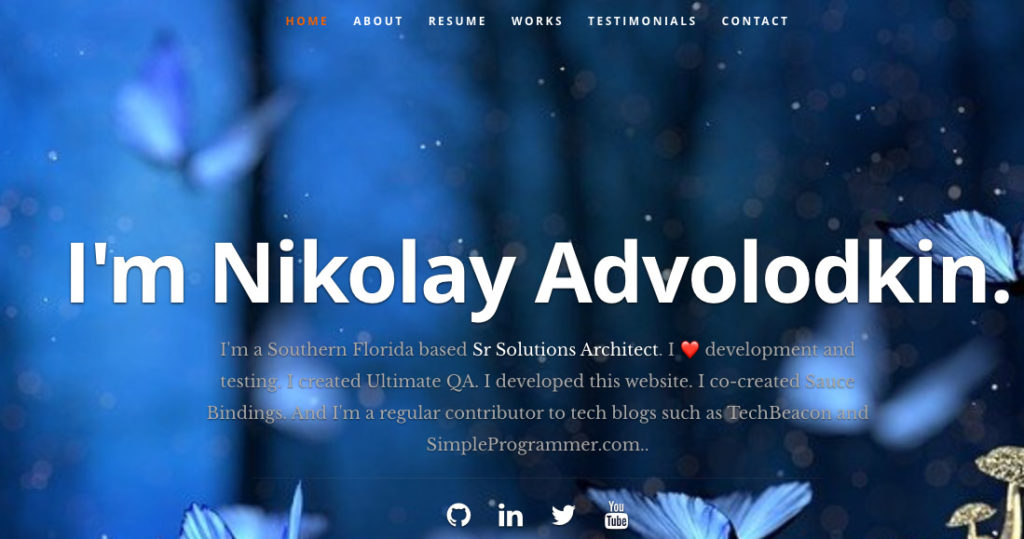
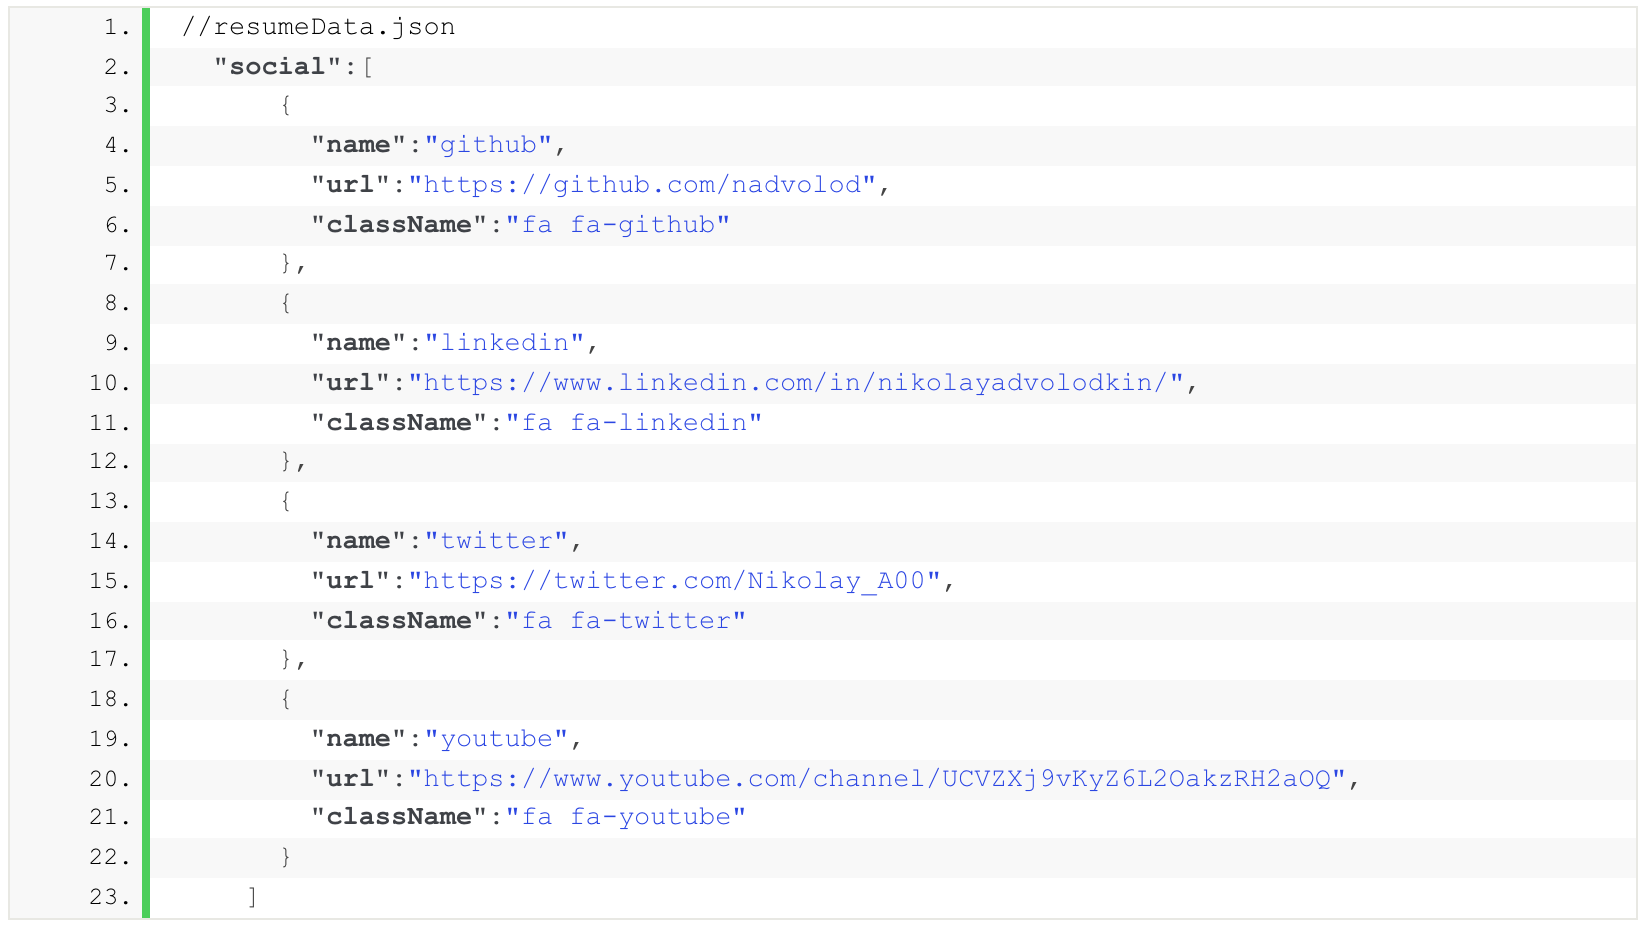
At the bottom of the screenshot, there are links to four social media sites: GitHub, LinkedIn, Twitter, and YouTube.
This is a perfect opportunity to use unit link testing. It can check that the social links are clickable and forward users to the relevant pages.
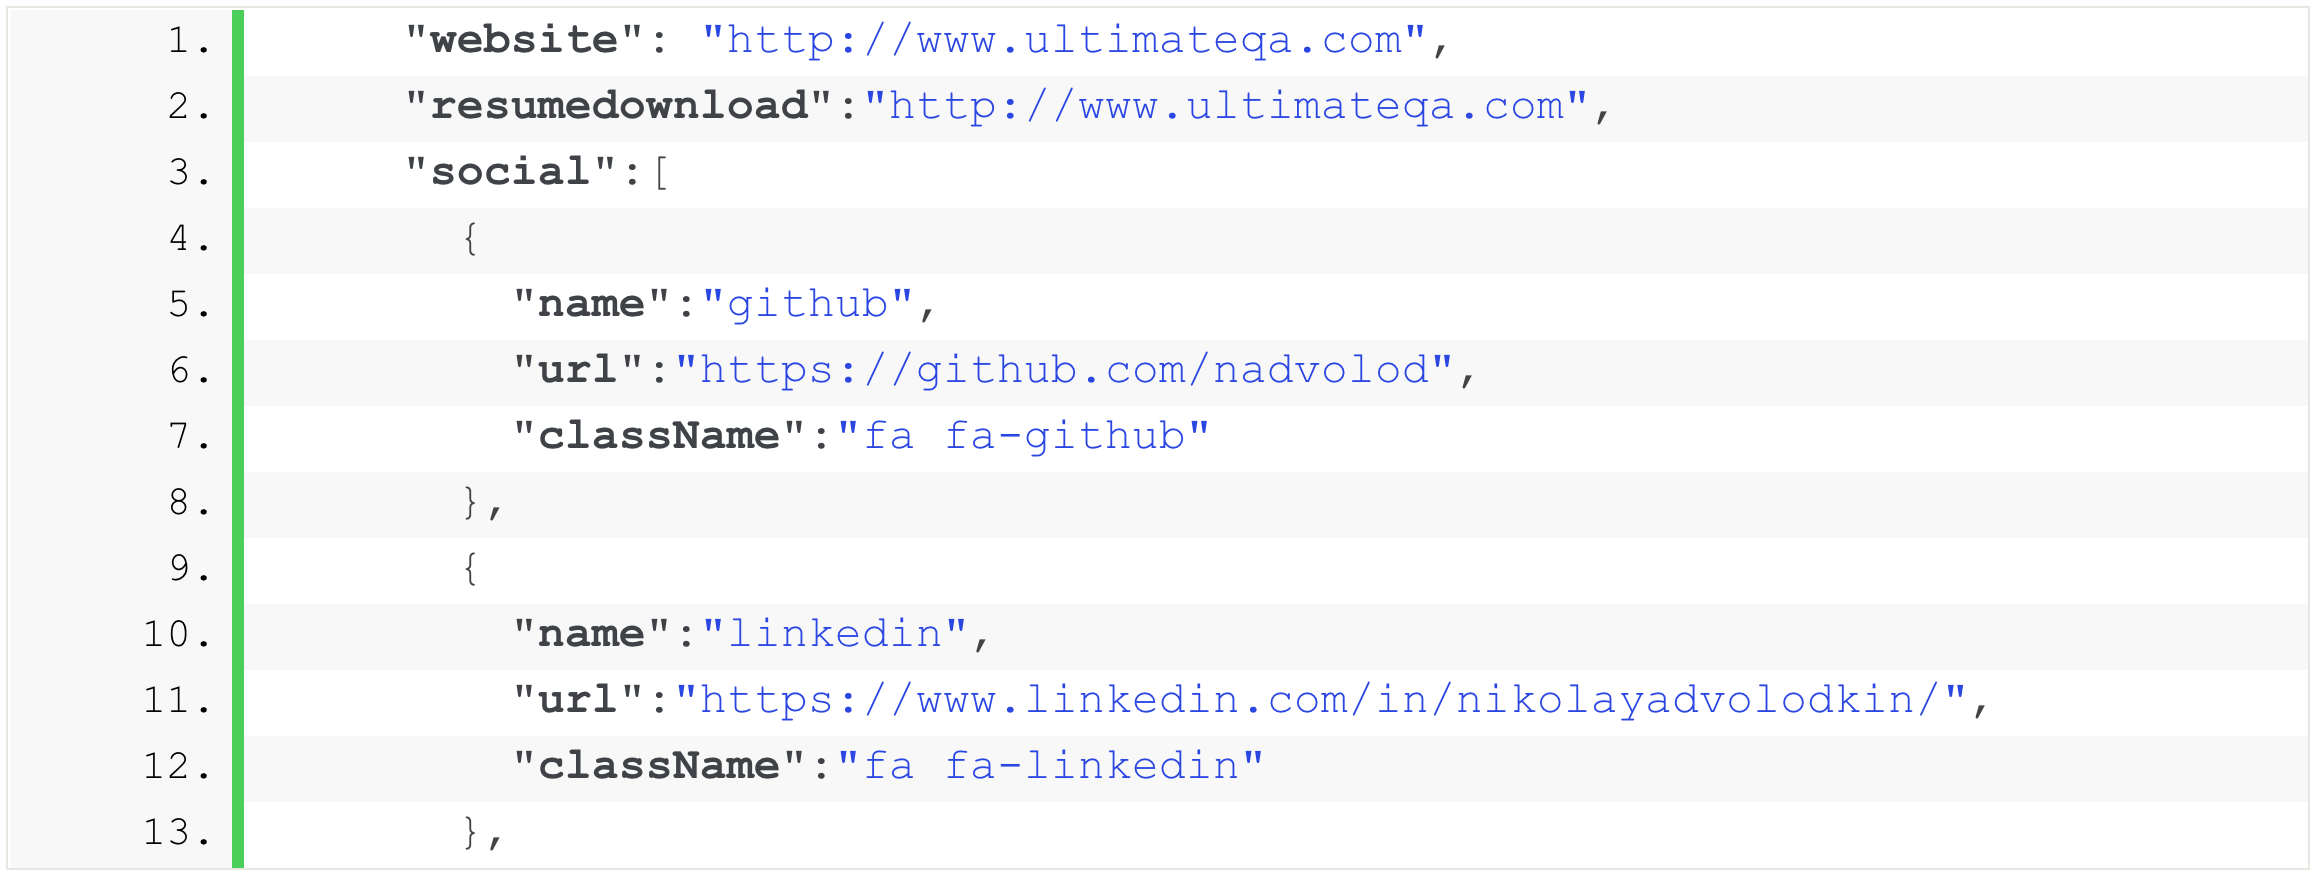
But how do you do this? If you inspect the code in more detail, you’ll find that it is pulled from a JSON file that looks like this:
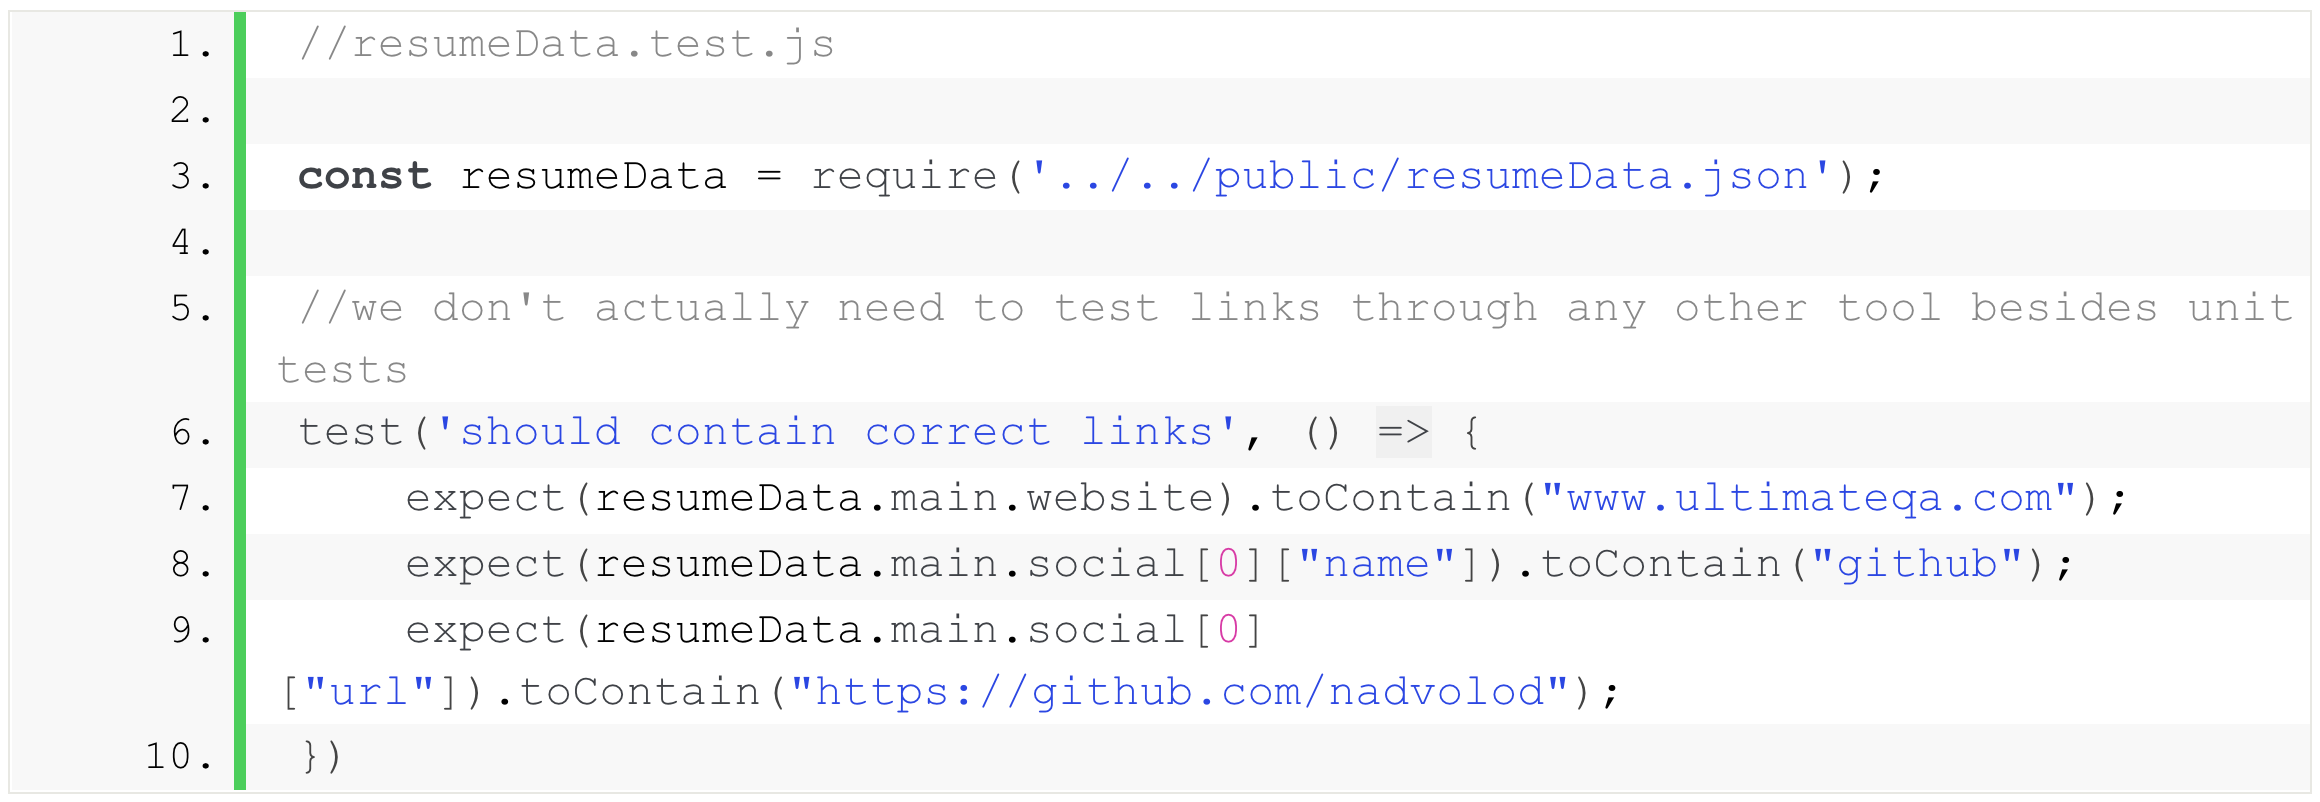
Therefore, your task is to simply determine the validity of the links. Since you already know that clicking on them is a pointless test, you will use the unit test.
You can write the unit test in Jest. Input the following code:
When you use the above code for the ReactJS portfolio website for Nikolay Advolodkin, you find that it fails the test:
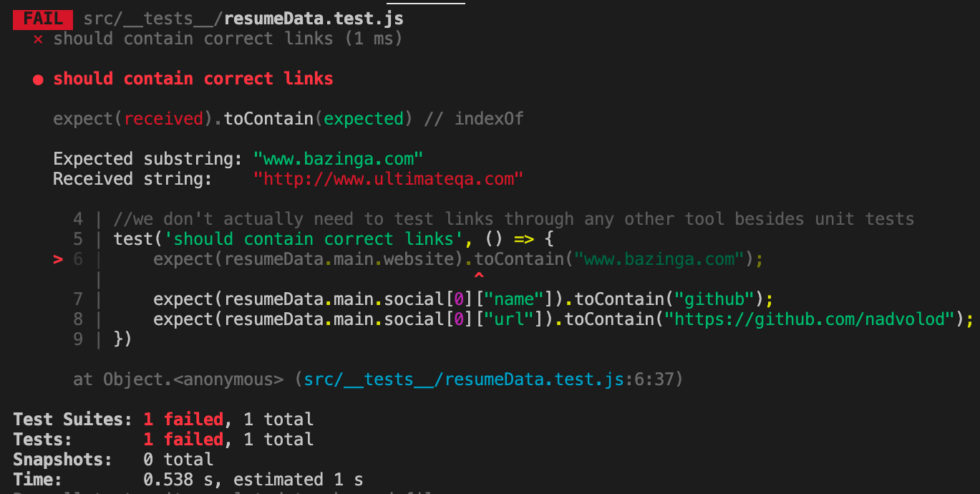
In this case, failure is what you want, because it shows that the links on the website are correct. The expected substring differed from the received substring.
In many respects, unit testing in this way is superior to simply clicking links in the browser. But using unit tests for links still isn’t optimal.
There are flaws. Can you see what they are? (Don't worry; I'm going to explain in the next section.)
How to test for valid links optimally
The main disadvantage of the method described above is that you have to continually write more tests whenever you add more links. In other words, testing all your URL links is still incredibly time-consuming, even if you use the unit test approach described above.
So what’s the solution? It’s something called “snapshot testing.” This approach lets you flexibly check all your links without having to continually add new lines of code. In other words, it’s way simpler.
How does it work? The clue is in the name. The test takes an image of the current status of your UI components and then compares these to a reference snapshot file, instantly telling you whether there are any differences. If there are inconsistencies, then it tells you. It either means:
- You need to update your snapshot file to match the new UI component; or
- There is a mismatch or unexpected change in the UI component.
What does this test look like? Check out the following:

Here you can see that I’ve written a test that allows the program to identify differences in the UI elements and the original stored snapshot—something I call “the expected object.”
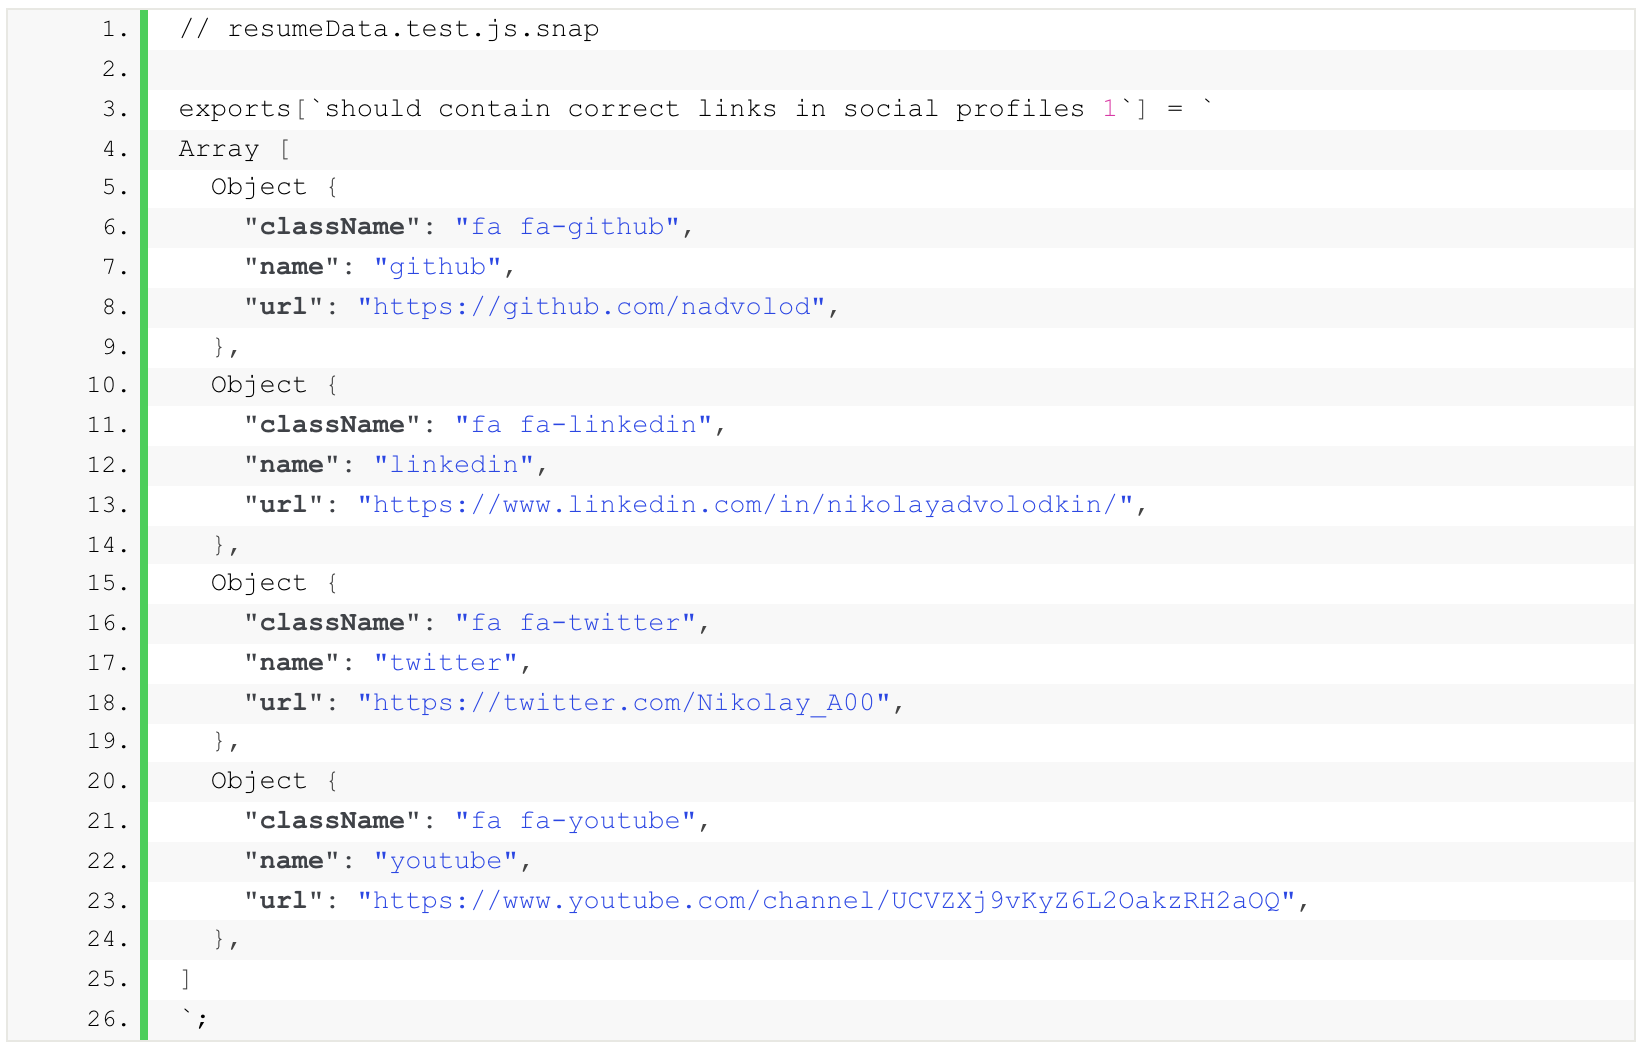
You can retrieve the expected object from the resumeData.main.social portion of the JSON file. Here’s how it appears:
To validate that the expected object matches the snapshot, you need to use the following approach:
In this example, you want to know that the UI component contains the correct social profile links. If it does, then there is no problem: the app passes the test and you're happy. If it doesn’t, the test will return a failure message that looks like this:
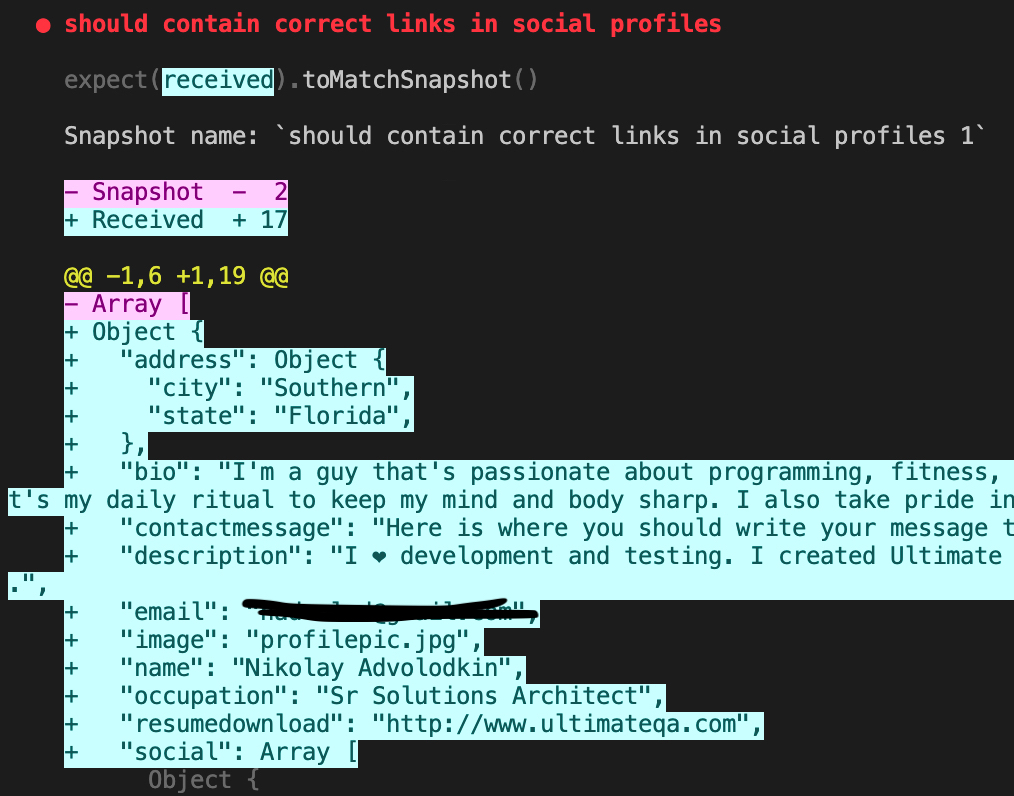
Notice that this method does not require any additional work. All you need to do is continue comparing the app as it is right now with your preferred snapshot. If you want to update the comparison, you simply save a new snapshot file.
Using snapshots is generally the most efficient way to test for links stored in a JSON or another type of object. You can even perform a snapshot test on an entire web component with many links. Just be sure to focus on the exact area of that component with the links. Otherwise, false positives are likely. Why not give it a go?
For more on mastering automated testing, register for Advolodkin's Complete Selenium Java Bootcamp. Enter your email and you'll receive a coupon for 45% off the regular price on Black Friday (November 26, 2021).
Keep learning
Take a deep dive into the state of quality with TechBeacon's Guide. Plus: Download the free World Quality Report 2022-23.
Put performance engineering into practice with these top 10 performance engineering techniques that work.
Find to tools you need with TechBeacon's Buyer's Guide for Selecting Software Test Automation Tools.
Discover best practices for reducing software defects with TechBeacon's Guide.
- Take your testing career to the next level. TechBeacon's Careers Topic Center provides expert advice to prepare you for your next move.
